Increase your email deliverability rate substantially with SPF and DKIM – and optionally (but recommended) configuring DMARC.
In the beginning, in the wild and wooly old days of the Internet, you could send an email as ANYBODY you wanted. There wasn’t any verification to limit SPAM. And a lot of people did indeed send spam, using someone else’s email address. This technique is called, “Joe Job”. It is simply spoofing identity to gain additional trust in the contents of the email.
Various methods were developed to combat spam. What works out REALLY well, is forcing email servers to PROVE that they are AUTHORIZED to send email on behalf of any specific domain.
Note: A domain is the name, which can be identified by the primary name of a website, or the part after the @ sign in an email address.
For example, my email address is johnc@dr7media.com. The domain is the “dr7media.com” portion.
There are three very important methods used to verify the authenticity of an email being sent, SPF, DKIM and DMARC. The first two, SPF and DKIM are absolutely essential. DMARC is important, as well, but isn’t as frequently configured.
The first two verification methods need to be configured for every point at which email on behalf of your domain exits a server to be routed via the public internet.
Your website host may or may not have this configured. Some providers may take care of in the background, sometimes you must configure this, and if you are going to have multiple points in which email is sent on behalf of your domain, those points MUST be configured.
For example, if you also send out email to subscribers using a third party company that sends out email using your domain, these two methods MUST be configured for that exit point as well.
WHAT HAPPENS TO YOUR EMAIL DELIVERABILITY WITHOUT SPF and DKIIM?
How each intended mail server chooses to handle email that you send, is completely up to each administrator.
Some mail servers might send the email back to you with a failure method.
Some mail servers might put that email in the spam folder.
Some mail servers might accept the email, but present you with a warning message.
These also vary depending if you are viewing the email via a webpage, or viewing utilizing an application like on a cell phone. And as there are many applications that can be used for email on both computers and mobile devices, lots of possibilities abound.
Anytime there is complication with emailing your intended recipient, the reliability and/or validity gets diminished.
A frequent problem with misconfigured email is that the intended recepient will never see the email, never get your message, have no idea that anything was sent. Very frustrating for both sender and recipient.
Quick Jump To Topics
- Configuring Zoho To Send And Receive Email On Behalf Of Your Domain
- Zoho Account Signup
- Add Domain To Zoho Account
- Verify Domain BlueCollarVoicesShow.com on Zoho
- Create First Email On Zoho For BlueCollarVoicesShow.com
- DNS Mapping – MX, SPF and DKIM
- Example Of Adding The First MX Record
- Adding The SPF Record For BlueCollarVoicesShow.com
- Adding DKIM Record
- SPF Record Lookup For BlueCollarVoicesShow.com
- Check Email In Gmail For Errors
Walkthrough Configuring Records For MX, SPF, DKIM and DMARC
For this walkthrough of configuring SPF and DKIM, I’ll be using the domain bluecollarvoicesshow.com. This is a brand-new project, without any email configuration settings at all, at this point. (I’m moving bluecollarvoices.com to bluecollarvoicesshow.com (and building a new project on bluecollarvoices.com)).
Configuring Zoho To Send And Receive Email On Behalf Of Your Domain
Setting up Zoho requires using an existing, working email address or phone # which can receive SMS messages. You can use whatever email you have such as a Gmail account, Yahoo, etc. I recommend this be a personal email over which you have some modicum of control. This means I recommend NOT using an email from work, as an example.
Zoho Account Signup
First, head on over to ZOHO. The exact url at the time of this post being written is: https://mail.zoho.com/signup?type=org&plan=free
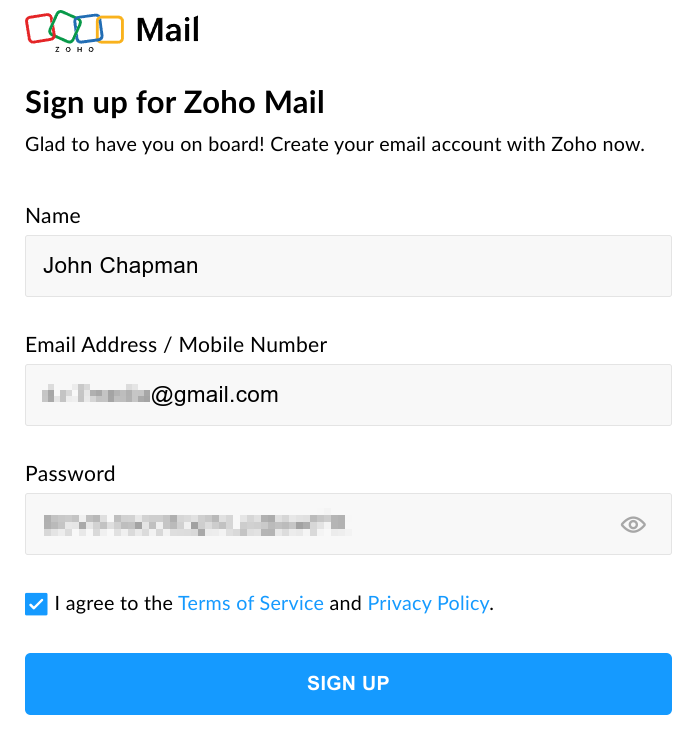
Enter your name, email/phone, create a password, click to agree with the terms and then click on “Sign Up”.
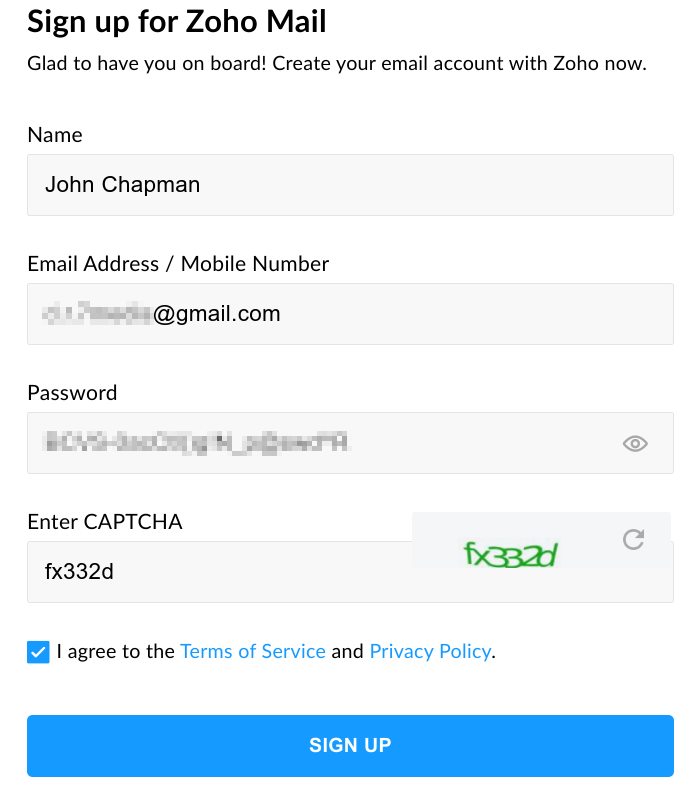
After clicking on Sign Up, you will be presented with a captcha. Fill out the captcha, and then again click on Sign Up.
After clicking on Signup again, you will receive a verification code at the email with which you registered.
Using that code, enter it into the verification screen:
Then, click on Verify.
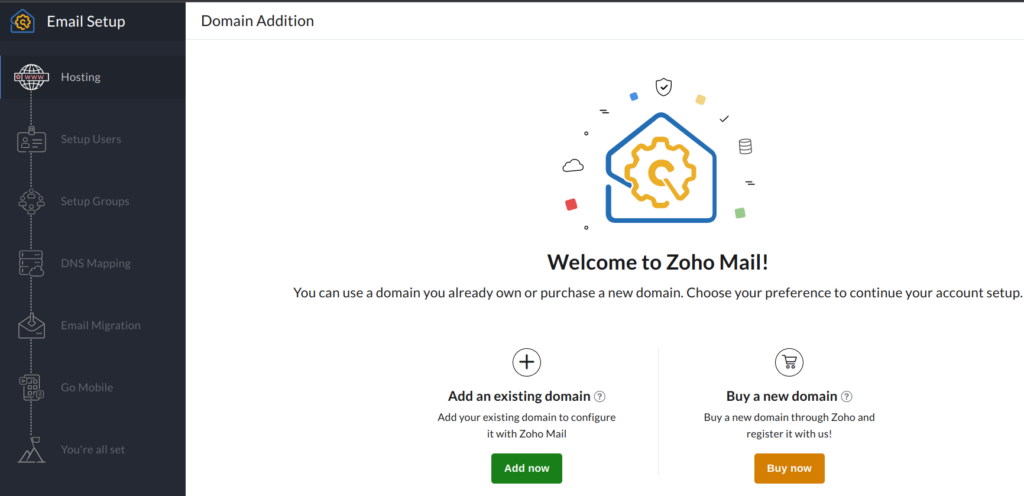
After clicking on verify, if things went correctly, you will be presented with a welcome to Zoho setup page.
Add Domain To Zoho Account
The next steps are to set up our specified domain (bluecollarvoicesshow.com), create a user, and configure DNS.
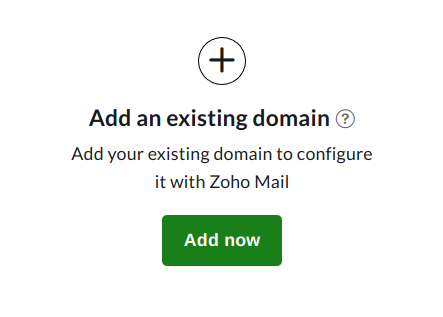
On this page, we are going to add an existing domain.
So, click on “Add now” under the “Add an existing domain” option.
A window pops up, requesting information to add the domain.
It looks like so:
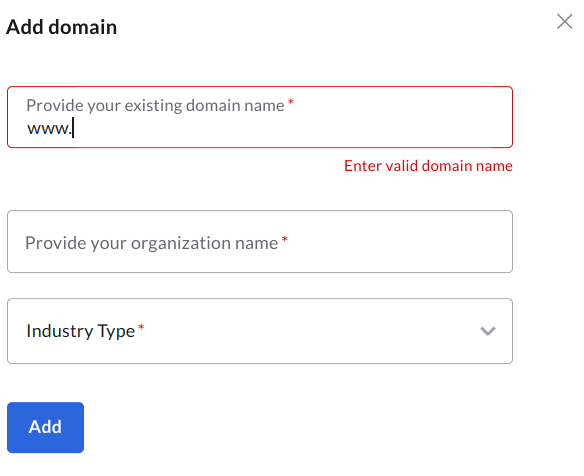
Fill it out, and it will look like so:
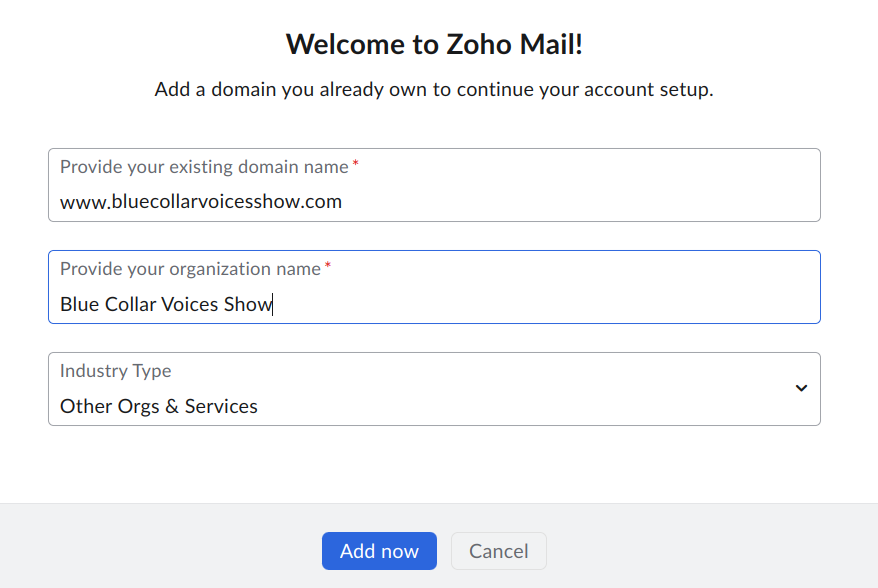
Click on “Add”
If things went correctly, you are now at a success screen.
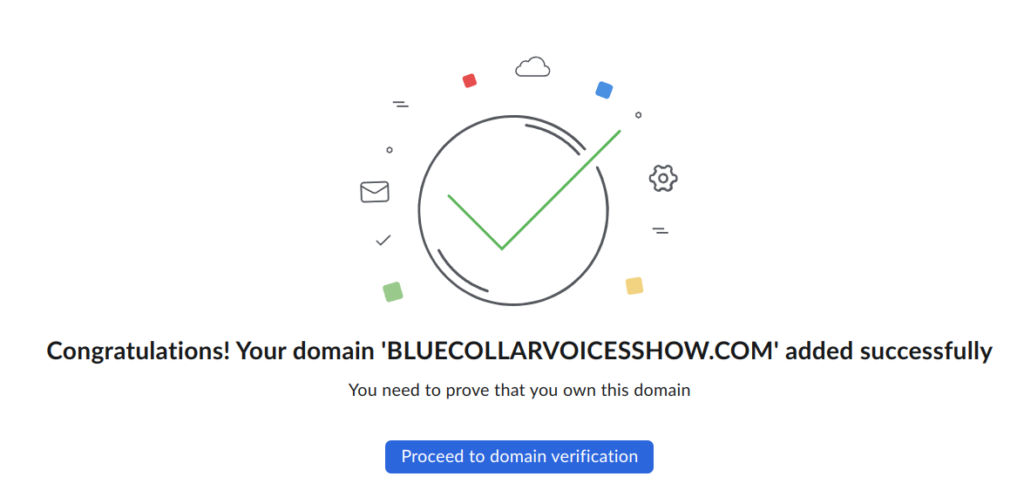
Verify Domain BlueCollarVoicesShow.com on Zoho
The next step is to verify ownership of this domain. Click on “Proceed to domain verification”.
Here are instructions and needed information to create a new TXT record to verify domain ownership.
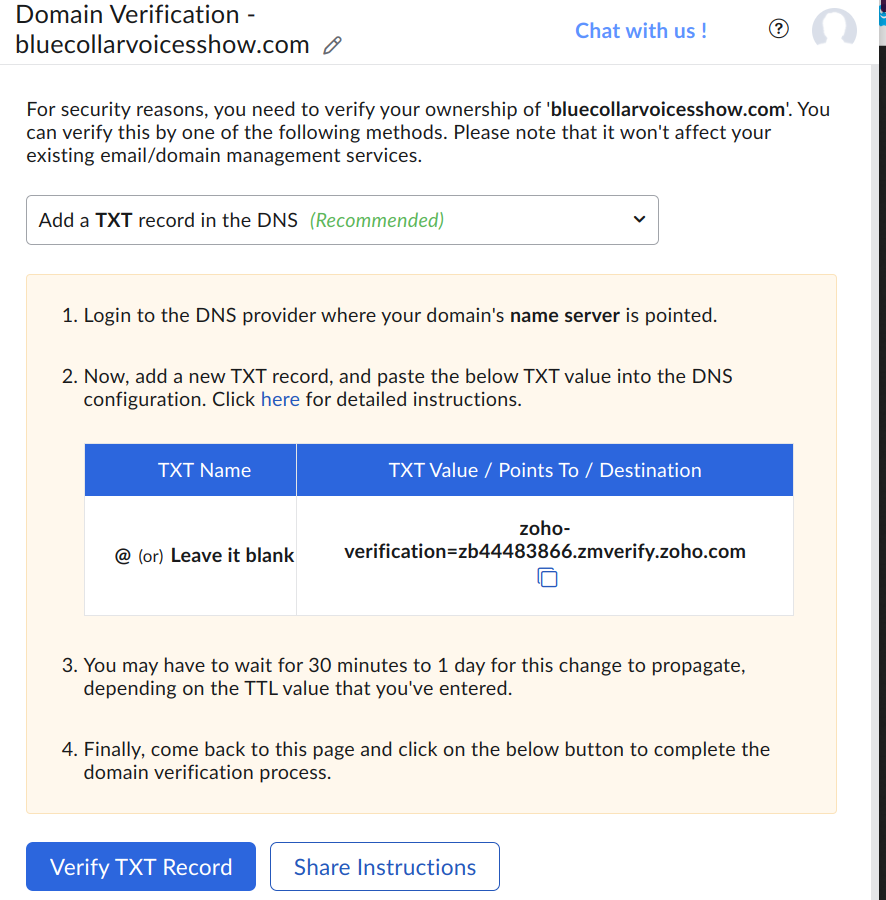
Depending on your DNS provider, the screens you see to make these changes will vary.
NOTE: Zoho provides instructions for the major DNS providers.
In this walkthrough, the DNS provider is Joker.
In the Joker control panel, DNS settings for “bluecollarvoicesshow.com” select new record, type txt.
Populate the fields provided as shown in the screenshot:
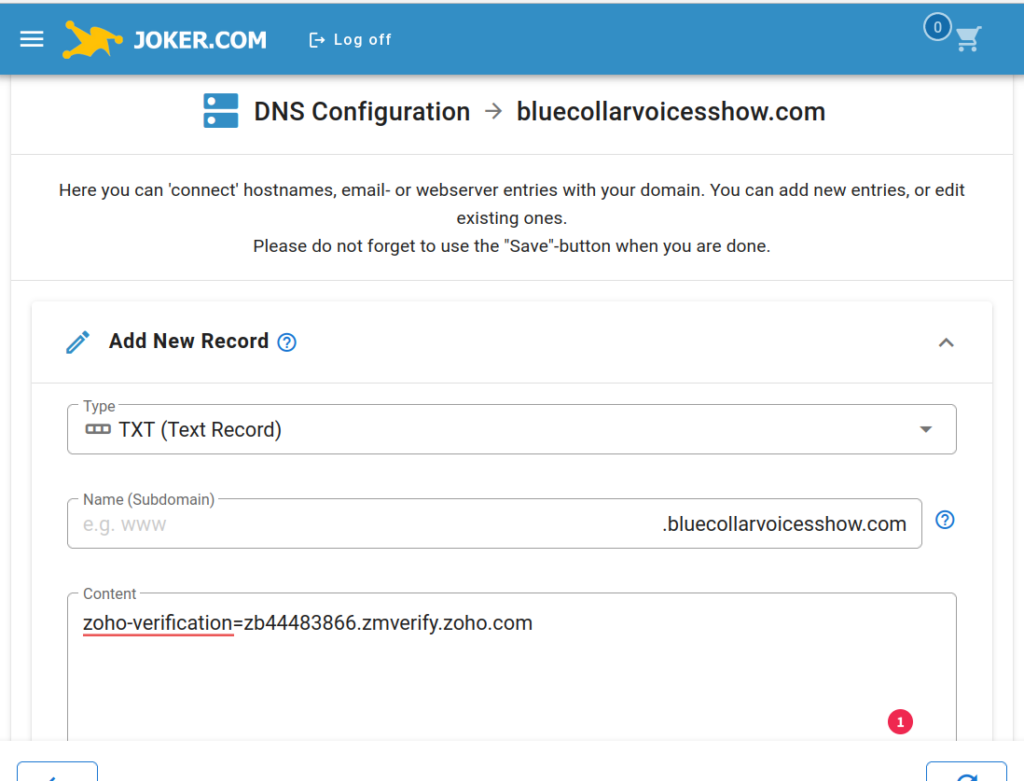
Click on Add, then click on Save Changes
Popup: “Are you sure?”, click on Yes.
Window changes and lets you know the changes have been saved.
Joker sends an email confirmation that changes have been made. Your provider may or may not. And it may take a varying amount of time for the changes to take effect, depending on the provider. In my case, the change was fully made within under a minute.
So, let’s proceed with the confirmation on Joker.
Back to the Domain Verification window on Zoho, click on Verify TXT Record.
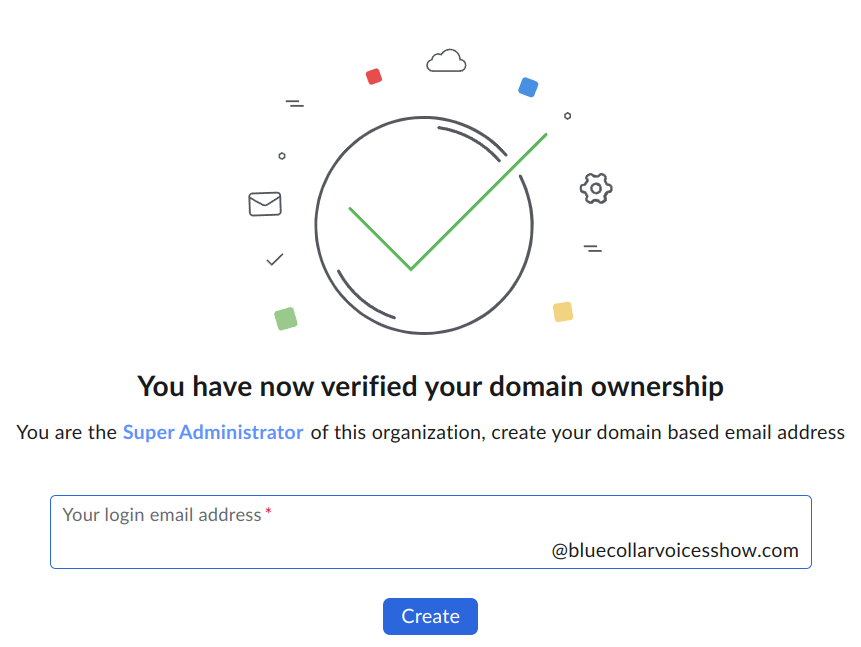
Verifying takes a few seconds, and if everything is good to go, a new window is displayed.
This window is a confirmation of domain ownership, and asking to create your first email with your domain.
Create First Email On Zoho For BlueCollarVoicesShow.com
I’ll go ahead and create the first email, johnc@bluecollarvoicesshow.com
I put “johnc” in the provided field as pictured:
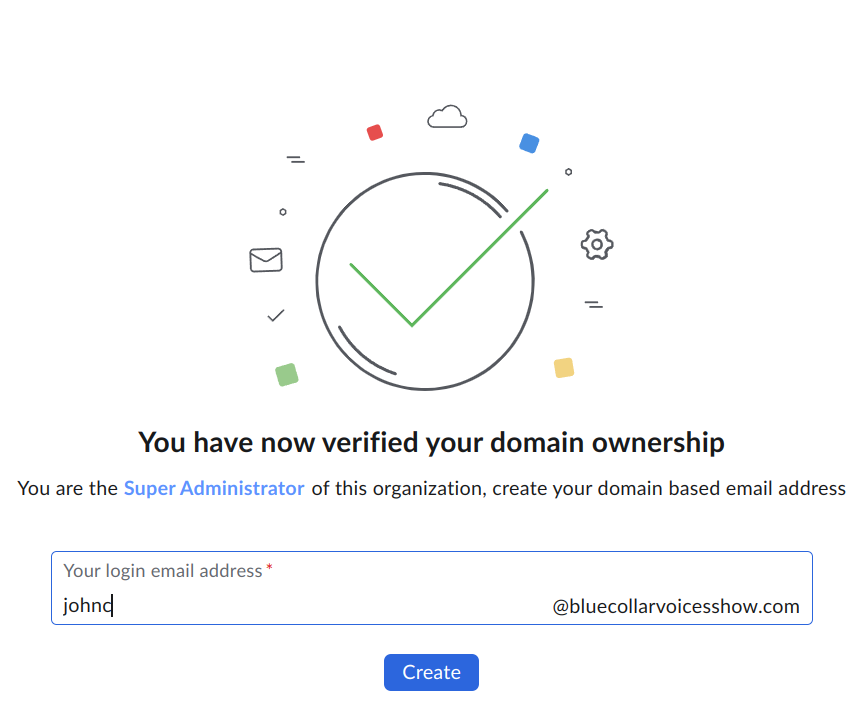
Then, click on “Create”.
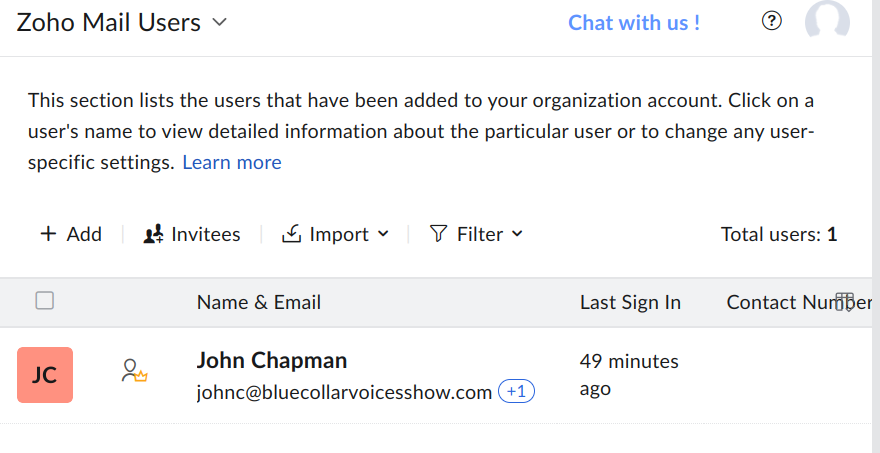
This takes you to the Users section, which lists the users for your domain.
Notice, the first email user you create has a password that is set to the same as you used to create the Zoho account.
Click on “Proceed To Setup Groups” at the bottom of the page.
We are going to skip this, so click on “Proceed To DNS Mapping”.
DNS Mapping – MX, SPF and DKIM
DNS Mapping
Now we are going to configure the MX, SPF and DKIM records. Zoho provides all the needed information to do this.
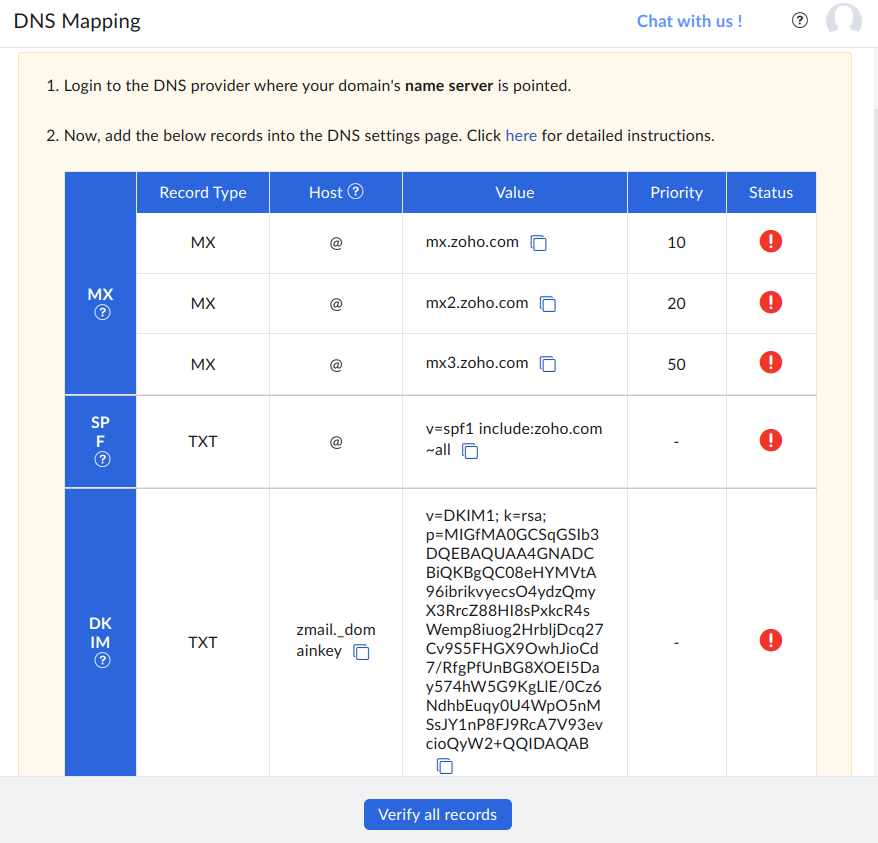
Add each of the MX records.
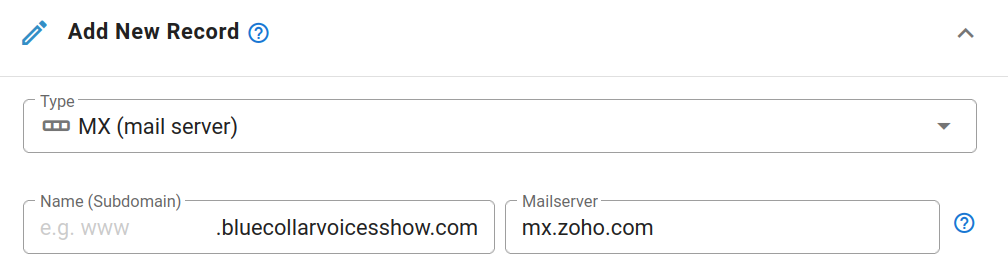
Example Of Adding The First MX Record
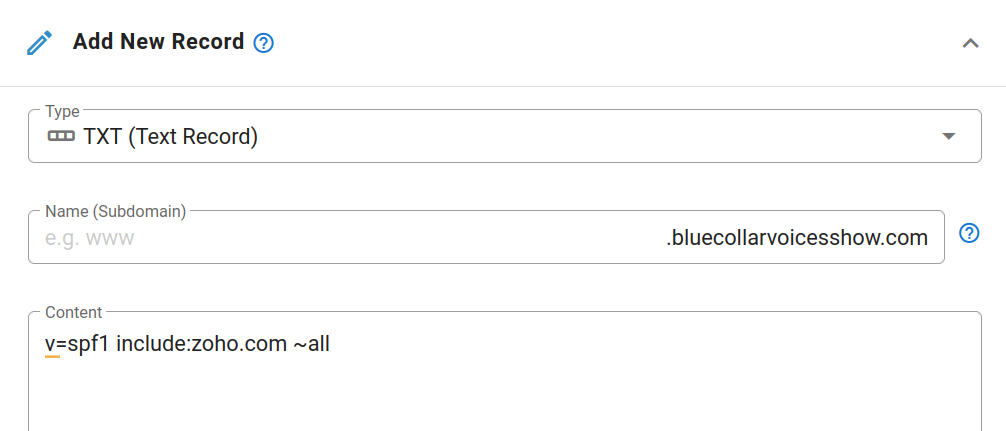
Adding The SPF Record For BlueCollarVoicesShow.com
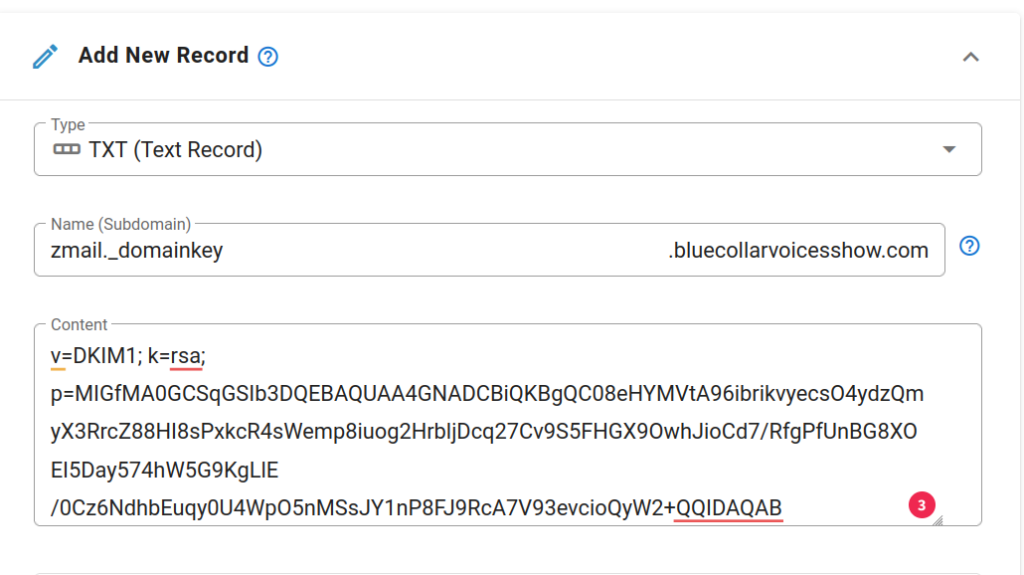
After adding the three MX records, and the SPF record, lets add the DKIM record:
Adding DKIM Record
Now that these records have been added, click on “Save Changes” to save and apply these DNS records.
I waited a minute, now I’ve got the email that all my changes have been applied. Let’s head back to Zoho, and verify.
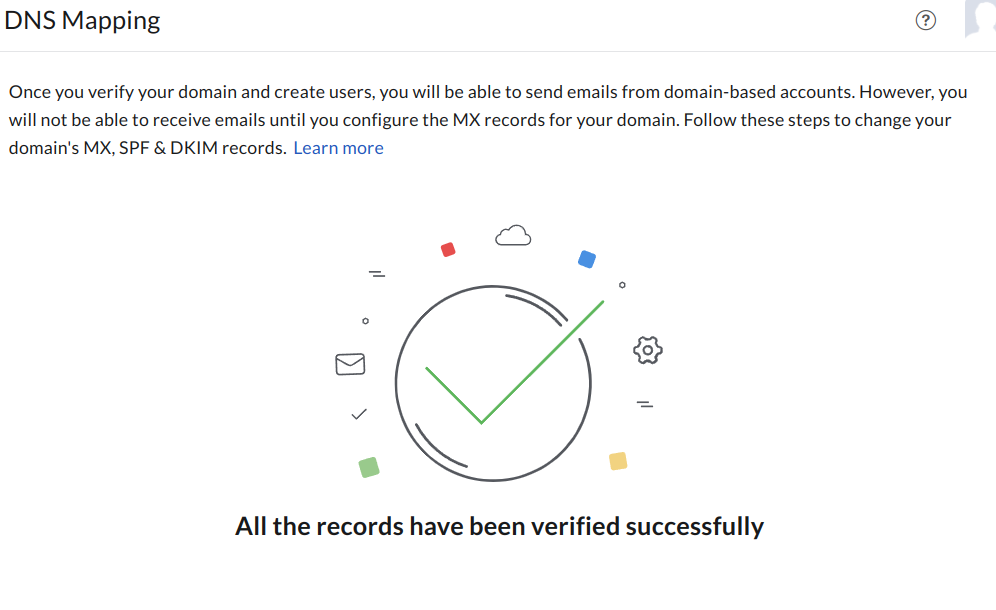
Click on “Verify All Records”, and hopefully I didn’t fat finger anything.
WOOHOO! All the records were verified successfully!
Click on “Proceed to Email Migration”
Click on “Proceed to go mobile”
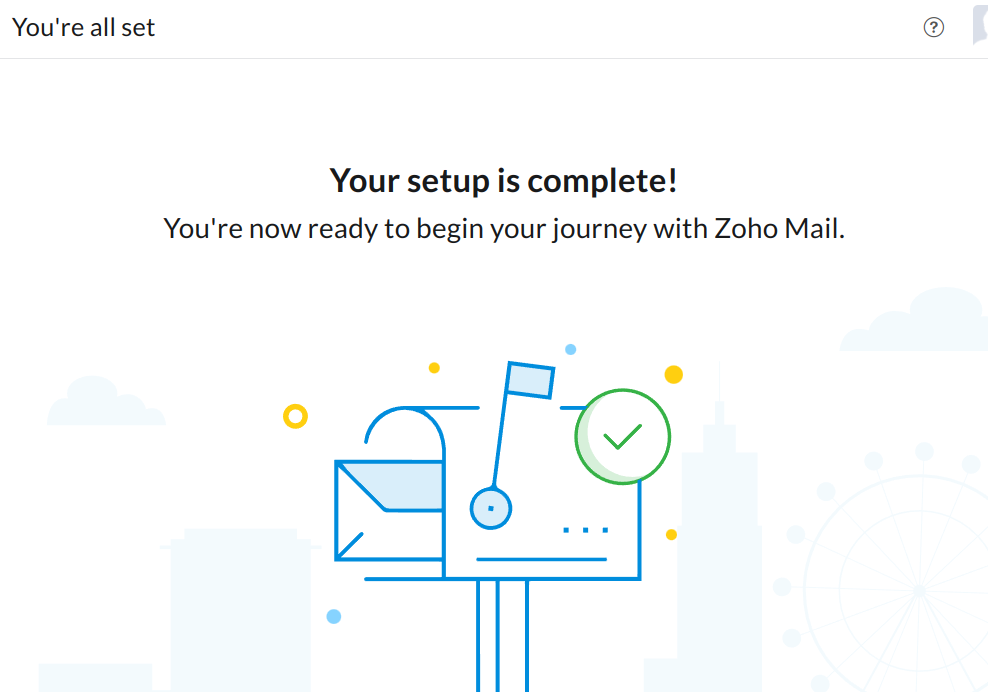
Click on “Proceed To Setup Completion”
Now we get “Your Setup is complete!”
The SPF and DKIM records created in this walkthrough ONLY validate email on behalf of bluecollarvoicesshow.com, and only for email exiting the Zoho mailserver(s). Any other exit points – such as from the server hosting the website, or an action from a contact form on the server – if not configured as we have done here, will not be delivered or will be in spam, etc.
I really like to use a third party tool to verify that the MX, SPF and DKIM records are configured properly.
Verify MX Records For BlueCollarVoicesShow.com
Visit: https://dnschecker.org/mx-lookup.php
Enter in the information for your domain. Here, we are using bluecollarvoicesshow.com.
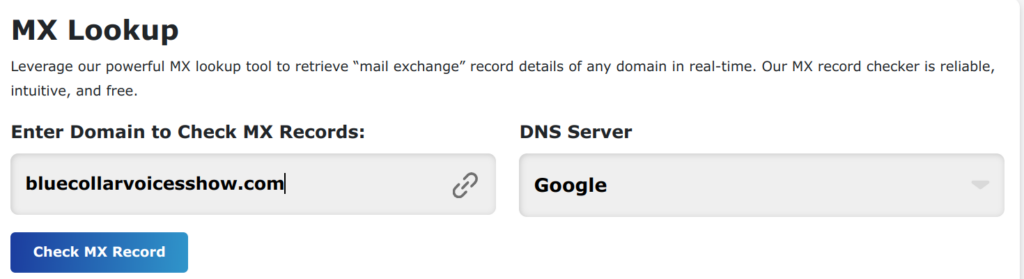
Next, click on “Check MX Record”.
The results are:
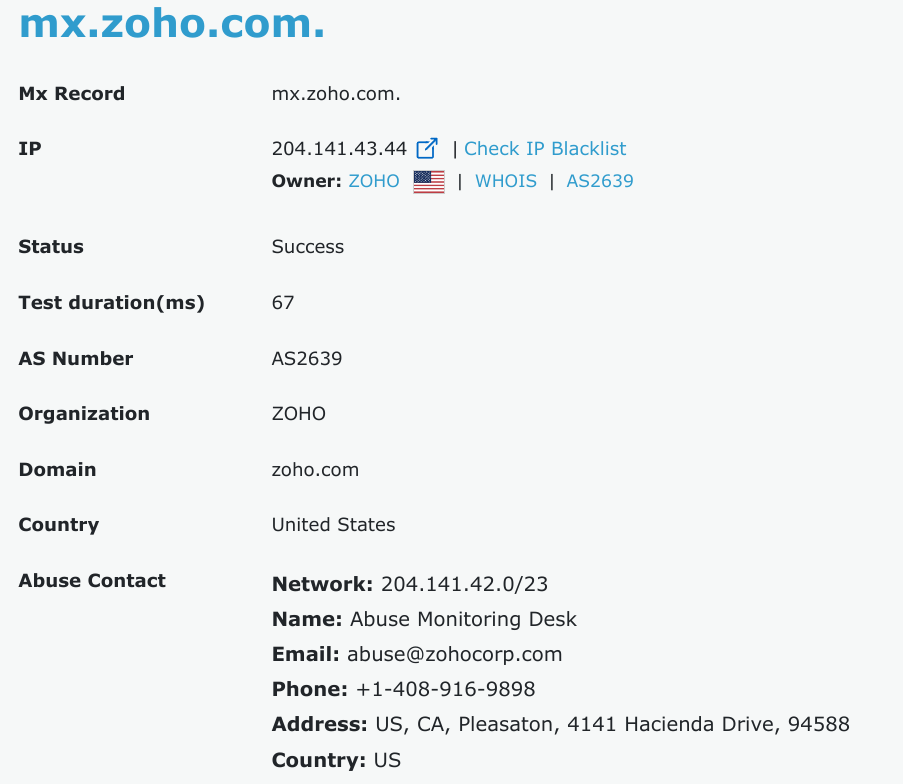
In this case, a lot of additional information is shown. All three records we created are returned.
SPF Record Lookup For BlueCollarVoicesShow.com
Visit: https://mxtoolbox.com/spf.aspx
and enter the domain. In this case, bluecollarvoicesshow.com
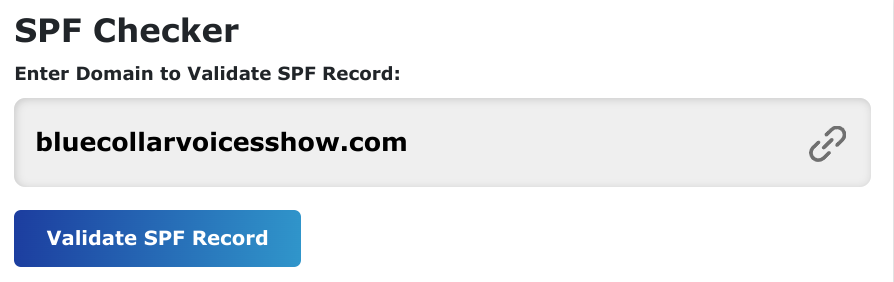
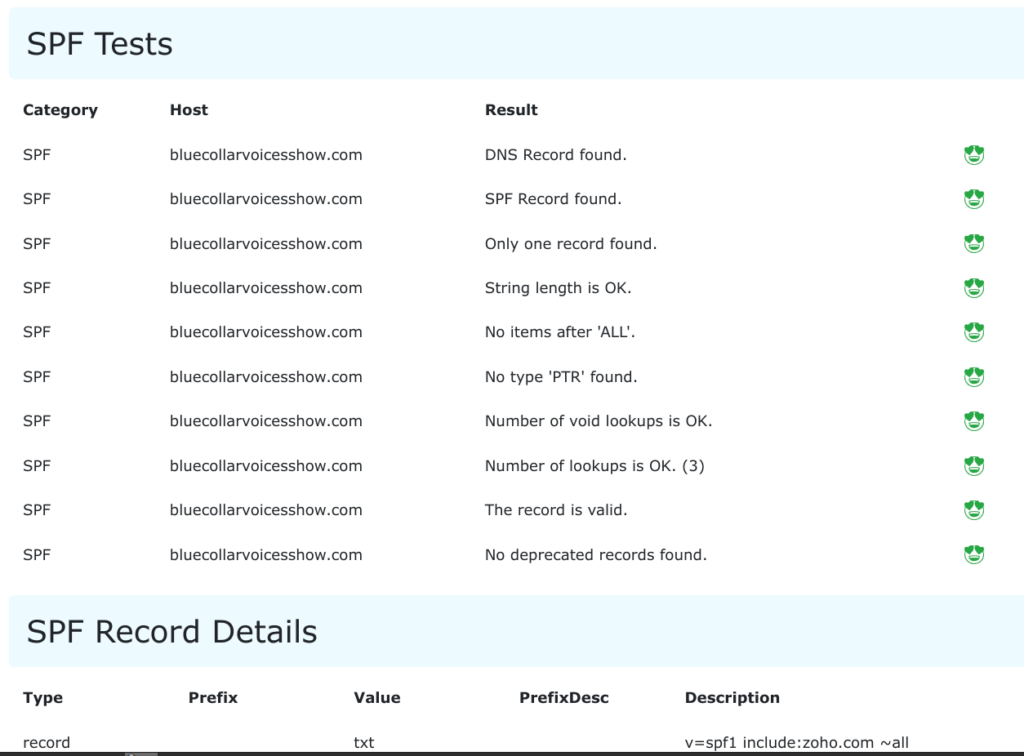
Click on SPF Record Lookup, and we get:
Looks good!
Next, check DKIM
Visit: https://www.mail-tester.com/spf-dkim-check
Enter in the domain, and the domain selecter.
Click, “Check SPF & DKIM keys”
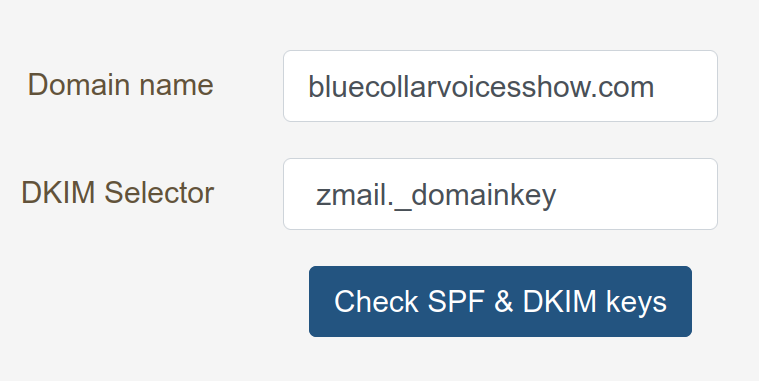
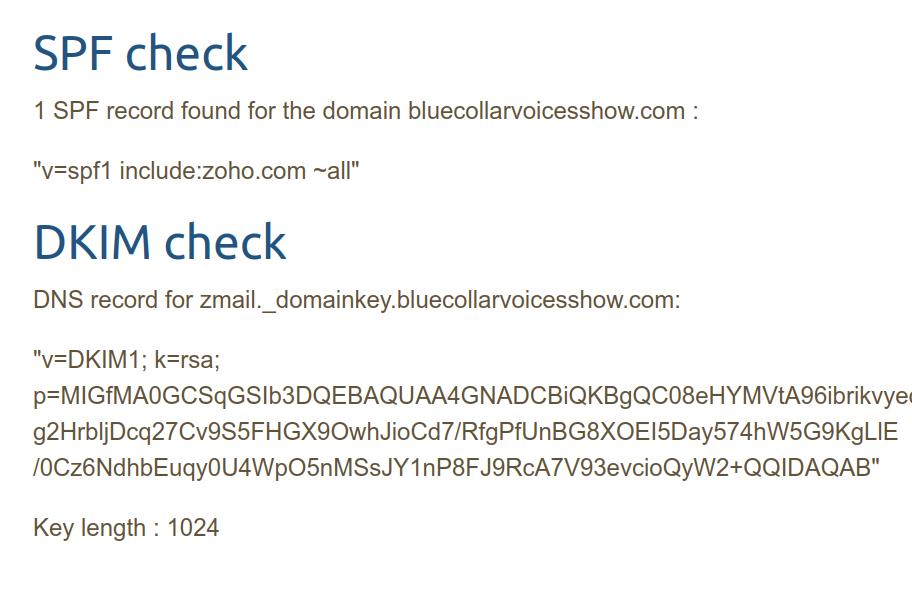
Click on Check SPF & DKIM keys.
And the results are: SUCCESS!!
This is the basics needed to successfully receive and send email using Zoho with your domain.
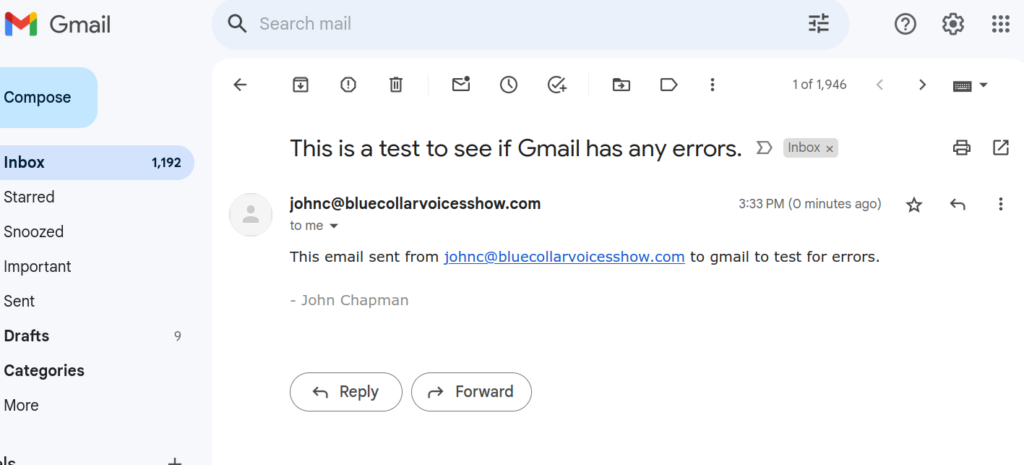
Check Email In Gmail For errors
One very picky email provider is Gmail. If a domain sending email to Gmail isn’t correctly configured, the email after being received by Gmail can very easily go to the spam folder – or get a warning alert in the email itself when viewed on the Gmail platform.
I’m going to send an email from Zoho to a personal Gmail account, just to double-check.
And opening up the email in Gmail. NO warnings. Outstanding!
CONFIGURING DMARC
DMARC stands for: Domain-based Message Authentication, Reporting, and Conformance.
From Wikipedia:
“Domain-based Message Authentication, Reporting and Conformance (DMARC) is an email authentication protocol. It is designed to give email domain owners the ability to protect their domain from unauthorized use, commonly known as email spoofing. The purpose and primary outcome of implementing DMARC is to protect a domain from being used in business email compromise attacks, phishing email, email scams and other cyber threat activities.
Once the DMARC DNS entry is published, any receiving email server can authenticate the incoming email based on the instructions published by the domain owner within the DNS entry. If the email passes the authentication, it will be delivered and can be trusted. If the email fails the check, depending on the instructions held within the DMARC record the email could be delivered, quarantined or rejected.
DMARC extends two existing email authentication mechanisms, Sender Policy Framework (SPF) and DomainKeys Identified Mail (DKIM). It allows the administrative owner of a domain to publish a policy in their DNS records to specify how to check the From: field presented to end users; how the receiver should deal with failures – and provides a reporting mechanism for actions performed under those policies.
DMARC is defined in the Internet Engineering Task Force‘s published document RFC 7489, dated March 2015, as “Informational”.”
Let’s configure DMARC for ZOHO.
I’ll do this via the DNS settings for bluecollarvoicesshow.com.
Click on “Add New Record” (I’m using Joker. Your DNS control panel will likely look different).
Then, fill in the information for the DMARC settings from ZOHO. I’ve opted to create very relaxed settings, while getting the email notifications.
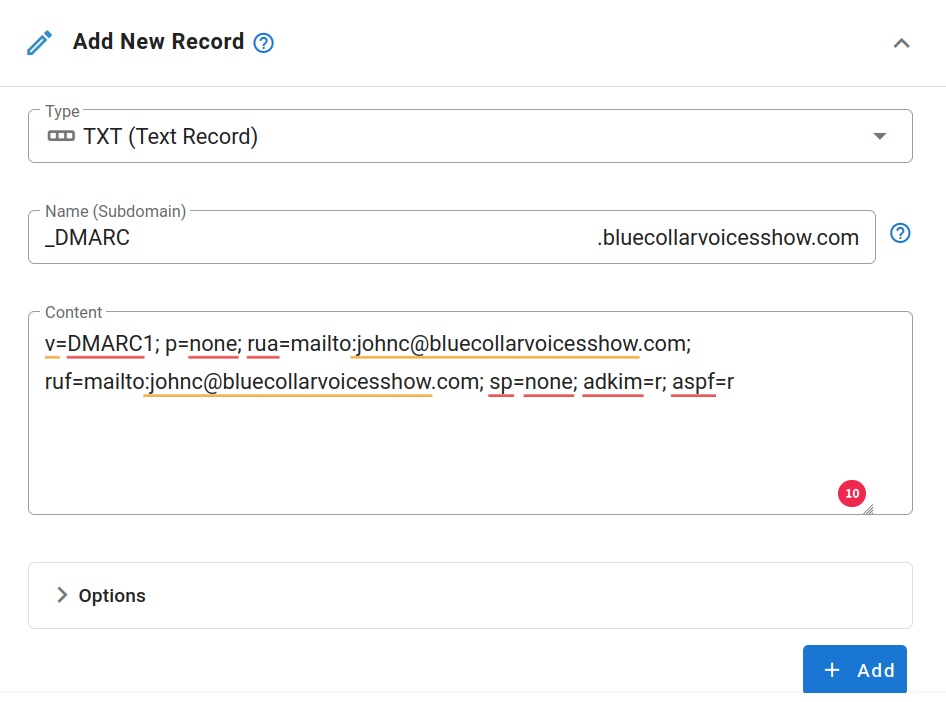
Click on Add, then click on Save.
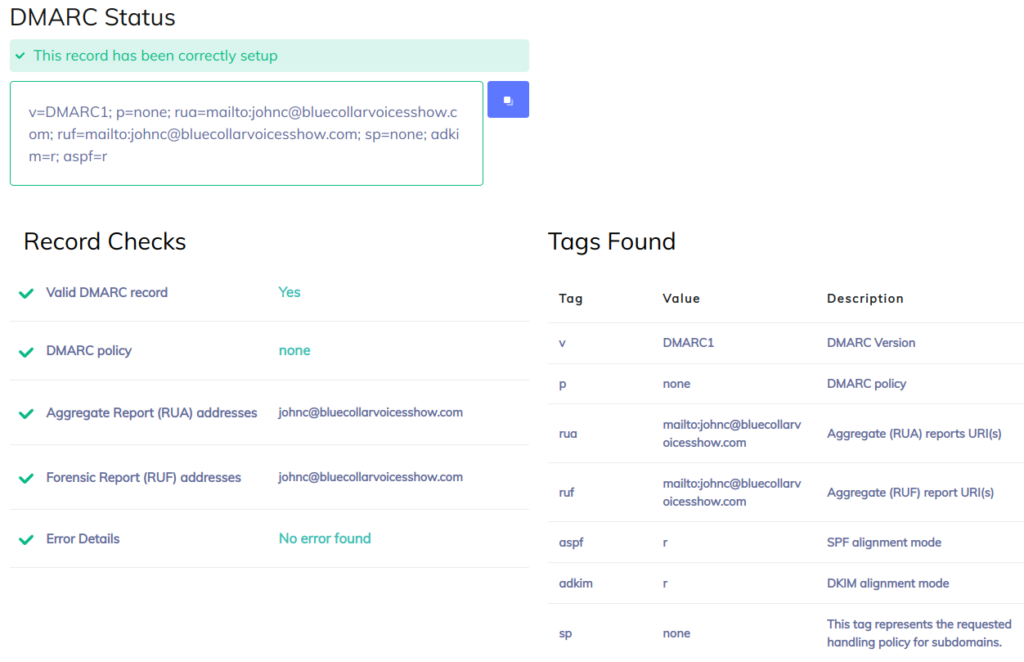
Next, test the DMARC settings:
Let’s hop on over to: https://powerdmarc.com/dmarc-record-checker/
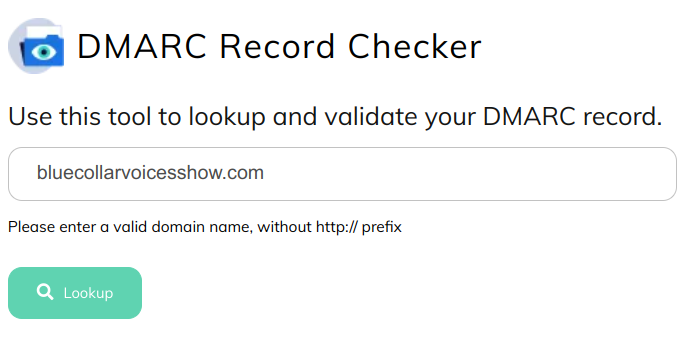
Click on “Lookup”.
The results show successful:
This has been a successful walkthrough of setting up email for sending and receiving on the Zoho platform.
Questions? Just use that contact form and let me know!
This article written by John Chapman